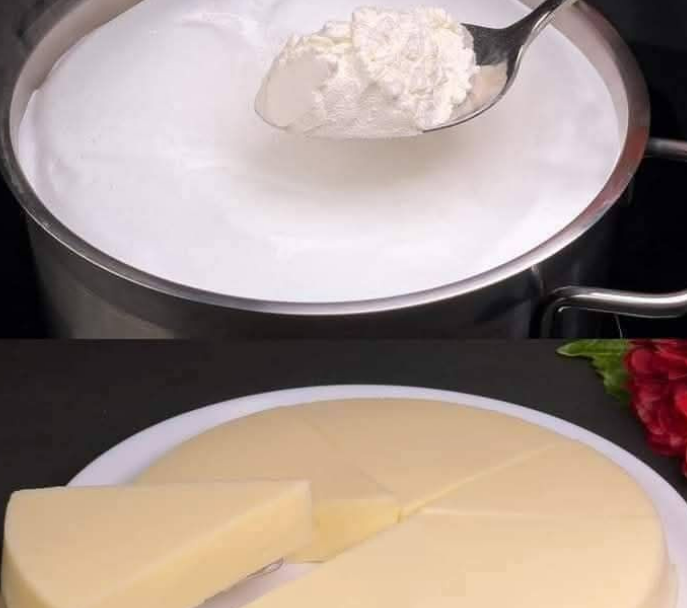
Making cheese at home is a fun and rewarding experience. This simple recipe uses just a few basic ingredients to create a creamy, delicious homemade cheese that can be enjoyed on its own or as part of various dishes. Perfect for beginners, this method will guide you step by step to make your own cheese.
Ingredients
- 1 liter (4 cups) whole milk (preferably fresh and unpasteurized)
- 2 tablespoons white vinegar or lemon juice
- 1/2 teaspoon salt (optional, for seasoning)
Equipment
- Heavy-bottomed pot
- Wooden spoon
- Cheesecloth or clean kitchen towel
- Strainer
- Bowl
Preparation Time
- Prep Time: 5 minutes
- Cook Time: 15 minutes
- Rest Time: 30 minutes
- Total Time: 50 minutes
Instructions
Step 1: Heat the Milk
- Pour the milk into a heavy-bottomed pot and place it over medium heat.
- Stir occasionally to prevent the milk from scorching.
- Heat the milk until it reaches a gentle simmer (around 185°F or 85°C). Do not let it boil.
Step 2: Add the Acid
- Once the milk is simmering, reduce the heat to low.
- Gradually add the vinegar or lemon juice, one tablespoon at a time, while stirring gently.
- You will see the milk start to curdle, separating into curds (solid) and whey (liquid). If the curds do not form, add a bit more vinegar or lemon juice.
Step 3: Strain the Curds
- Line a strainer with cheesecloth or a clean kitchen towel and place it over a large bowl.
- Carefully pour the curdled milk into the strainer, allowing the whey to drain into the bowl.
- Let the curds drain for about 10-15 minutes. For a firmer cheese, gather the edges of the cheesecloth and gently squeeze out more whey.
Step 4: Season and Shape (Optional)
- If desired, mix in the salt or other seasonings (e.g., herbs, garlic, or spices) into the curds.
- Press the curds into a compact shape and leave them in the cheesecloth for another 15 minutes to set.
Step 5: Serve and Store
- Transfer the cheese to a plate and serve immediately, or refrigerate for up to 3 days in an airtight container.
- Use the leftover whey in soups, smoothies, or baking for added nutrients.
Tips for Success
- Choose Fresh Milk: The quality of your milk greatly impacts the taste and texture of your cheese. Whole milk gives the best results.
- Monitor Heat Carefully: Avoid boiling the milk, as this can affect the flavor and texture of the cheese.
- Customize Flavors: Add fresh herbs, cracked pepper, or chili flakes to create a flavored cheese.
- Save the Whey: Whey is a protein-rich byproduct that can be used in many recipes.
- Experiment with Acids: Try apple cider vinegar or lime juice for a slightly different flavor profile.
Conclusion
Homemade cheese is a simple and satisfying way to enjoy fresh, creamy goodness. Whether you spread it on toast, crumble it over salads, or use it in cooking, this cheese is versatile and delicious. Give it a try and discover the joy of making cheese from scratch!
