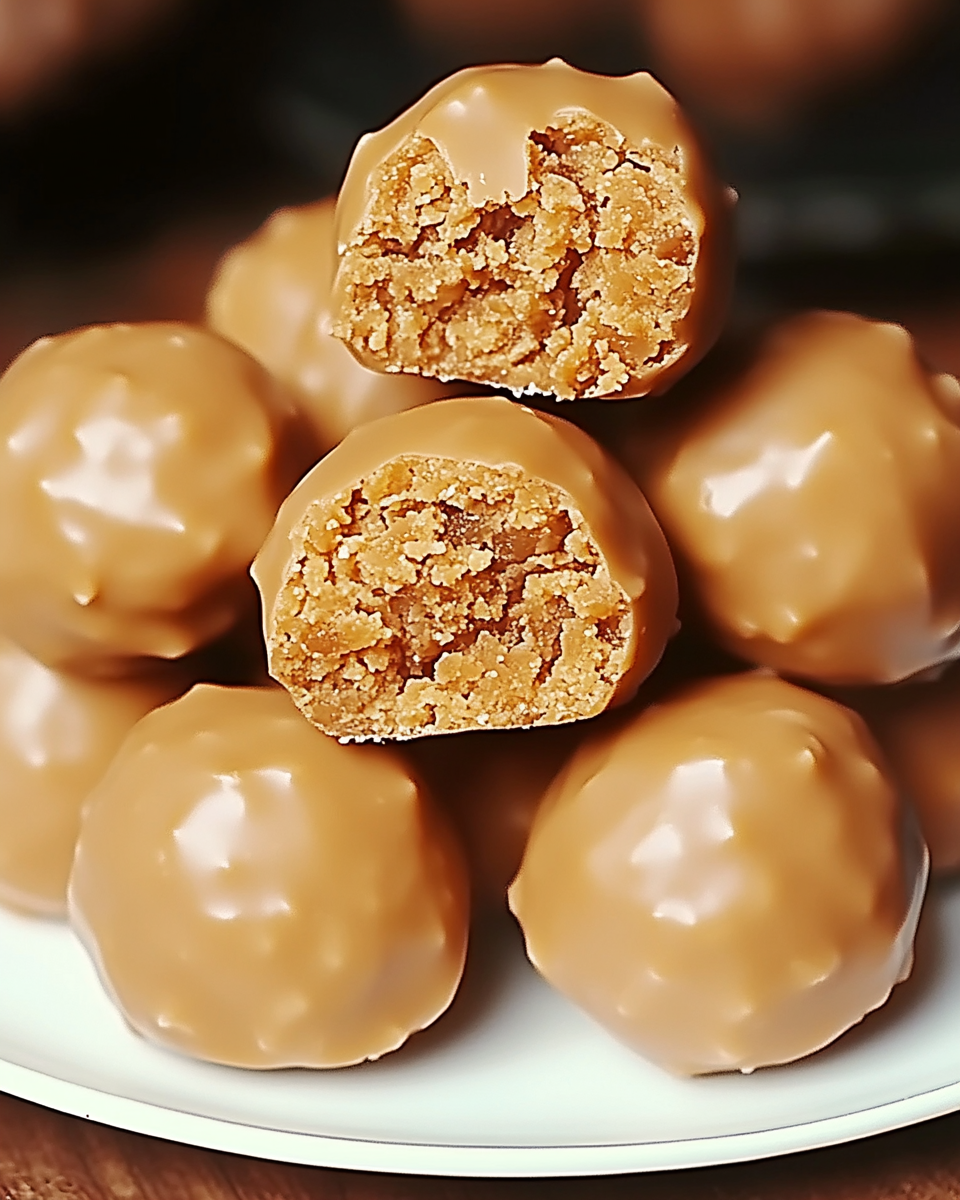
Butterfinger Balls are a delightful no-bake dessert perfect for parties, holidays, or satisfying a sweet craving. Combining the rich flavors of peanut butter, crushed Butterfinger candy, and smooth chocolate, these bite-sized delights are easy to make and even easier to devour.
In this article, we’ll dive into everything you need to know to create the perfect batch of Butterfinger Balls, including ingredients, step-by-step instructions, preparation time, tips for success, and nutritional information. Let’s get started!
Ingredients
Here’s what you’ll need to make approximately 20 Butterfinger Balls:
For the Filling:
- 2 cups Butterfinger candy bars (crushed)
- 1 cup creamy peanut butter
- 1/4 cup unsalted butter (softened)
- 1 1/2 cups powdered sugar
For the Coating:
- 12 oz milk chocolate chips or candy melts
- 1 tablespoon coconut oil or vegetable shortening (optional, for smooth coating)
Preparation Time
- Preparation Time: 20 minutes
- Chilling Time: 30 minutes
- Total Time: 50 minutes
Instructions
Step 1: Prepare the Filling
Crush Butterfingers: Place the Butterfinger candy bars in a zip-top bag and crush them into fine crumbs using a rolling pin or food processor.
Mix Ingredients: In a large mixing bowl, combine the crushed Butterfingers, peanut butter, softened butter, and powdered sugar. Mix until well combined and a dough-like consistency forms.
Shape into Balls: Scoop about 1 tablespoon of the mixture and roll it into a ball using your hands. Repeat with the remaining mixture and place the balls on a parchment-lined baking sheet.
Step 2: Chill the Balls
Refrigerate: Place the baking sheet in the refrigerator for 30 minutes to firm up the balls. This makes it easier to coat them in chocolate.
Step 3: Melt the Chocolate
Prepare Chocolate Coating: In a microwave-safe bowl, melt the milk chocolate chips or candy melts in 20-second intervals, stirring between each until smooth. Add coconut oil or vegetable shortening if you desire a thinner coating.
Step 4: Coat the Balls
Dip the Balls: Using a fork or dipping tool, lower each chilled ball into the melted chocolate. Ensure it’s fully coated, then lift it out and let the excess chocolate drip off.
Set on Parchment: Place the coated balls back onto the parchment-lined baking sheet.
Step 5: Let Them Set
Harden the Chocolate: Allow the chocolate to harden by placing the tray back in the refrigerator for 15–20 minutes.
Tips for Success
Crushing Butterfingers: For best results, make sure the candy bars are crushed into very fine pieces. Large chunks can make rolling the balls more difficult.
Temperature Control: Keep the peanut butter mixture cold while you work. If it becomes too soft, pop it back in the fridge for a few minutes.
Smooth Chocolate Coating: Adding a small amount of coconut oil or shortening to the melted chocolate will give your Butterfinger Balls a smooth and shiny finish.
Decoration: For extra flair, drizzle melted white chocolate or sprinkle crushed Butterfingers on top before the chocolate sets.
Storage: Store Butterfinger Balls in an airtight container in the refrigerator for up to 1 week, or freeze them for up to 3 months.
Nutritional Information (Per Serving – 1 Ball)
- Calories: 160
- Carbohydrates: 16g
- Protein: 3g
- Fat: 10g
- Saturated Fat: 5g
- Sugar: 12g
- Sodium: 80mg
Why You’ll Love This Recipe
Butterfinger Balls are an excellent treat because they require no baking and use minimal ingredients. The creamy peanut butter perfectly complements the crunch and caramel flavor of the Butterfinger candy, while the chocolate coating adds a decadent touch. These treats are highly versatile and can be customized with different coatings or decorations.
Whether you’re making these for a holiday dessert tray, a party, or just to have on hand for when a sweet craving strikes, Butterfinger Balls are guaranteed to be a hit. Try them today and experience this addictive treat for yourself!
